Deploy Rancher on Ubuntu Server VM - PART 1 (Installation)
What is Rancher?
Rancher is an open-source platform that enables you to run containers in production environments. As you probably may know already Rancher makes it simple to deploy and run Kubernetes everywhere.To be able to start this installation you will need an Ubuntu System, access to a CLI for example with Putty. Also, you must be able to access an account with sudo or root privileges, and then finally but not less important you will need multiple nodes that you can use for your cluster.
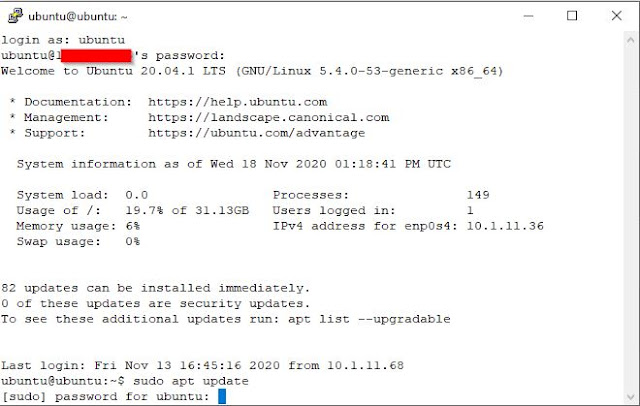
I imagine that your system is already updated, if it is not like that, please proceed to update your system first.
- Install Docker
(If you have any older version of Docker uninstall that version with the command sudo apt-get remove docker docker-engine docker.io)
sudo apt install docker.ioNow we verify that the installation was successful:
docker --versionStart the Docker service:
sudo systemctl start dockerSet it to run at startup:
sudo systemctl enable dockerCheck the status of Docker:
sudo systemctl status dockerIt should indicate as below active (running):
- Install Rancher
After setting up Docker, you will use the platform to create a container where you can run the Rancher server.
Creating a new Rancher server container is easy as just typing this command:
sudo docker run -d --restart=unless-stopped -p 8080:8080 rancher/server:stableNow to access Rancher user interface/web interface, open a web browser and type this:
https://[server_ip]:[port]And now we are done with the installation.


Comments