Setup a VM on TrueNAS - Example with Ubuntu Server
Because recently I found myself doing the Rancher course and I wanted to try to deploy Rancher on Ubuntu Server, I decided to create a dedicated VM for that. But in our environment I did not have any machine free to create a new VM, so then I just realized that I still have the FreeNAS and TrueNAS!
So I open the web interface of my TrueNAS, as you can see here:
Then I open a new web page, and I download the Ubuntu Server .iso
LINK: https://ubuntu.com/download/server
Here we will just fill up the basic info, regarding operating system, name, etc and then click next.
This part is particularly important, setup up the CPU and Memory based on the minimum requirements of that OS and your needs:
In the network interface, remember to select the VirtlO.
On this area we are gonna tick the box "Upload an installer imagine file", and than we click on choose file we search the ubuntu server .iso in our pc directory, I guess it will be downloads. After that we click upload, we wait a couple of minutes. When is ready we proceed "next".
Now click SUBMIT.
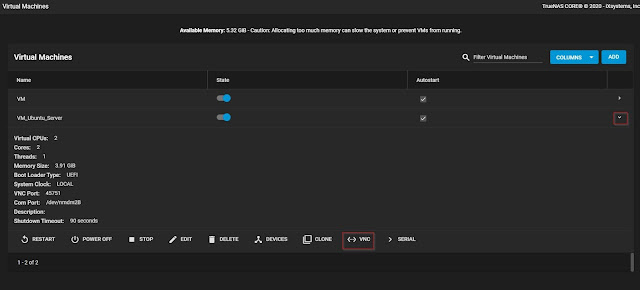
Let's wait a couple of seconds and then click on <...> VNC to open the terminal.
On devices you can modify or edit all the componentes of the VM, now we are going to delete the CDROM, as normally when finalize to install a new operation system in a machine what we do before the reboot? We remove the media device, otherwise it will keep booting on the installation.
Now we are finally done. Enjoy your new VM!


Comments